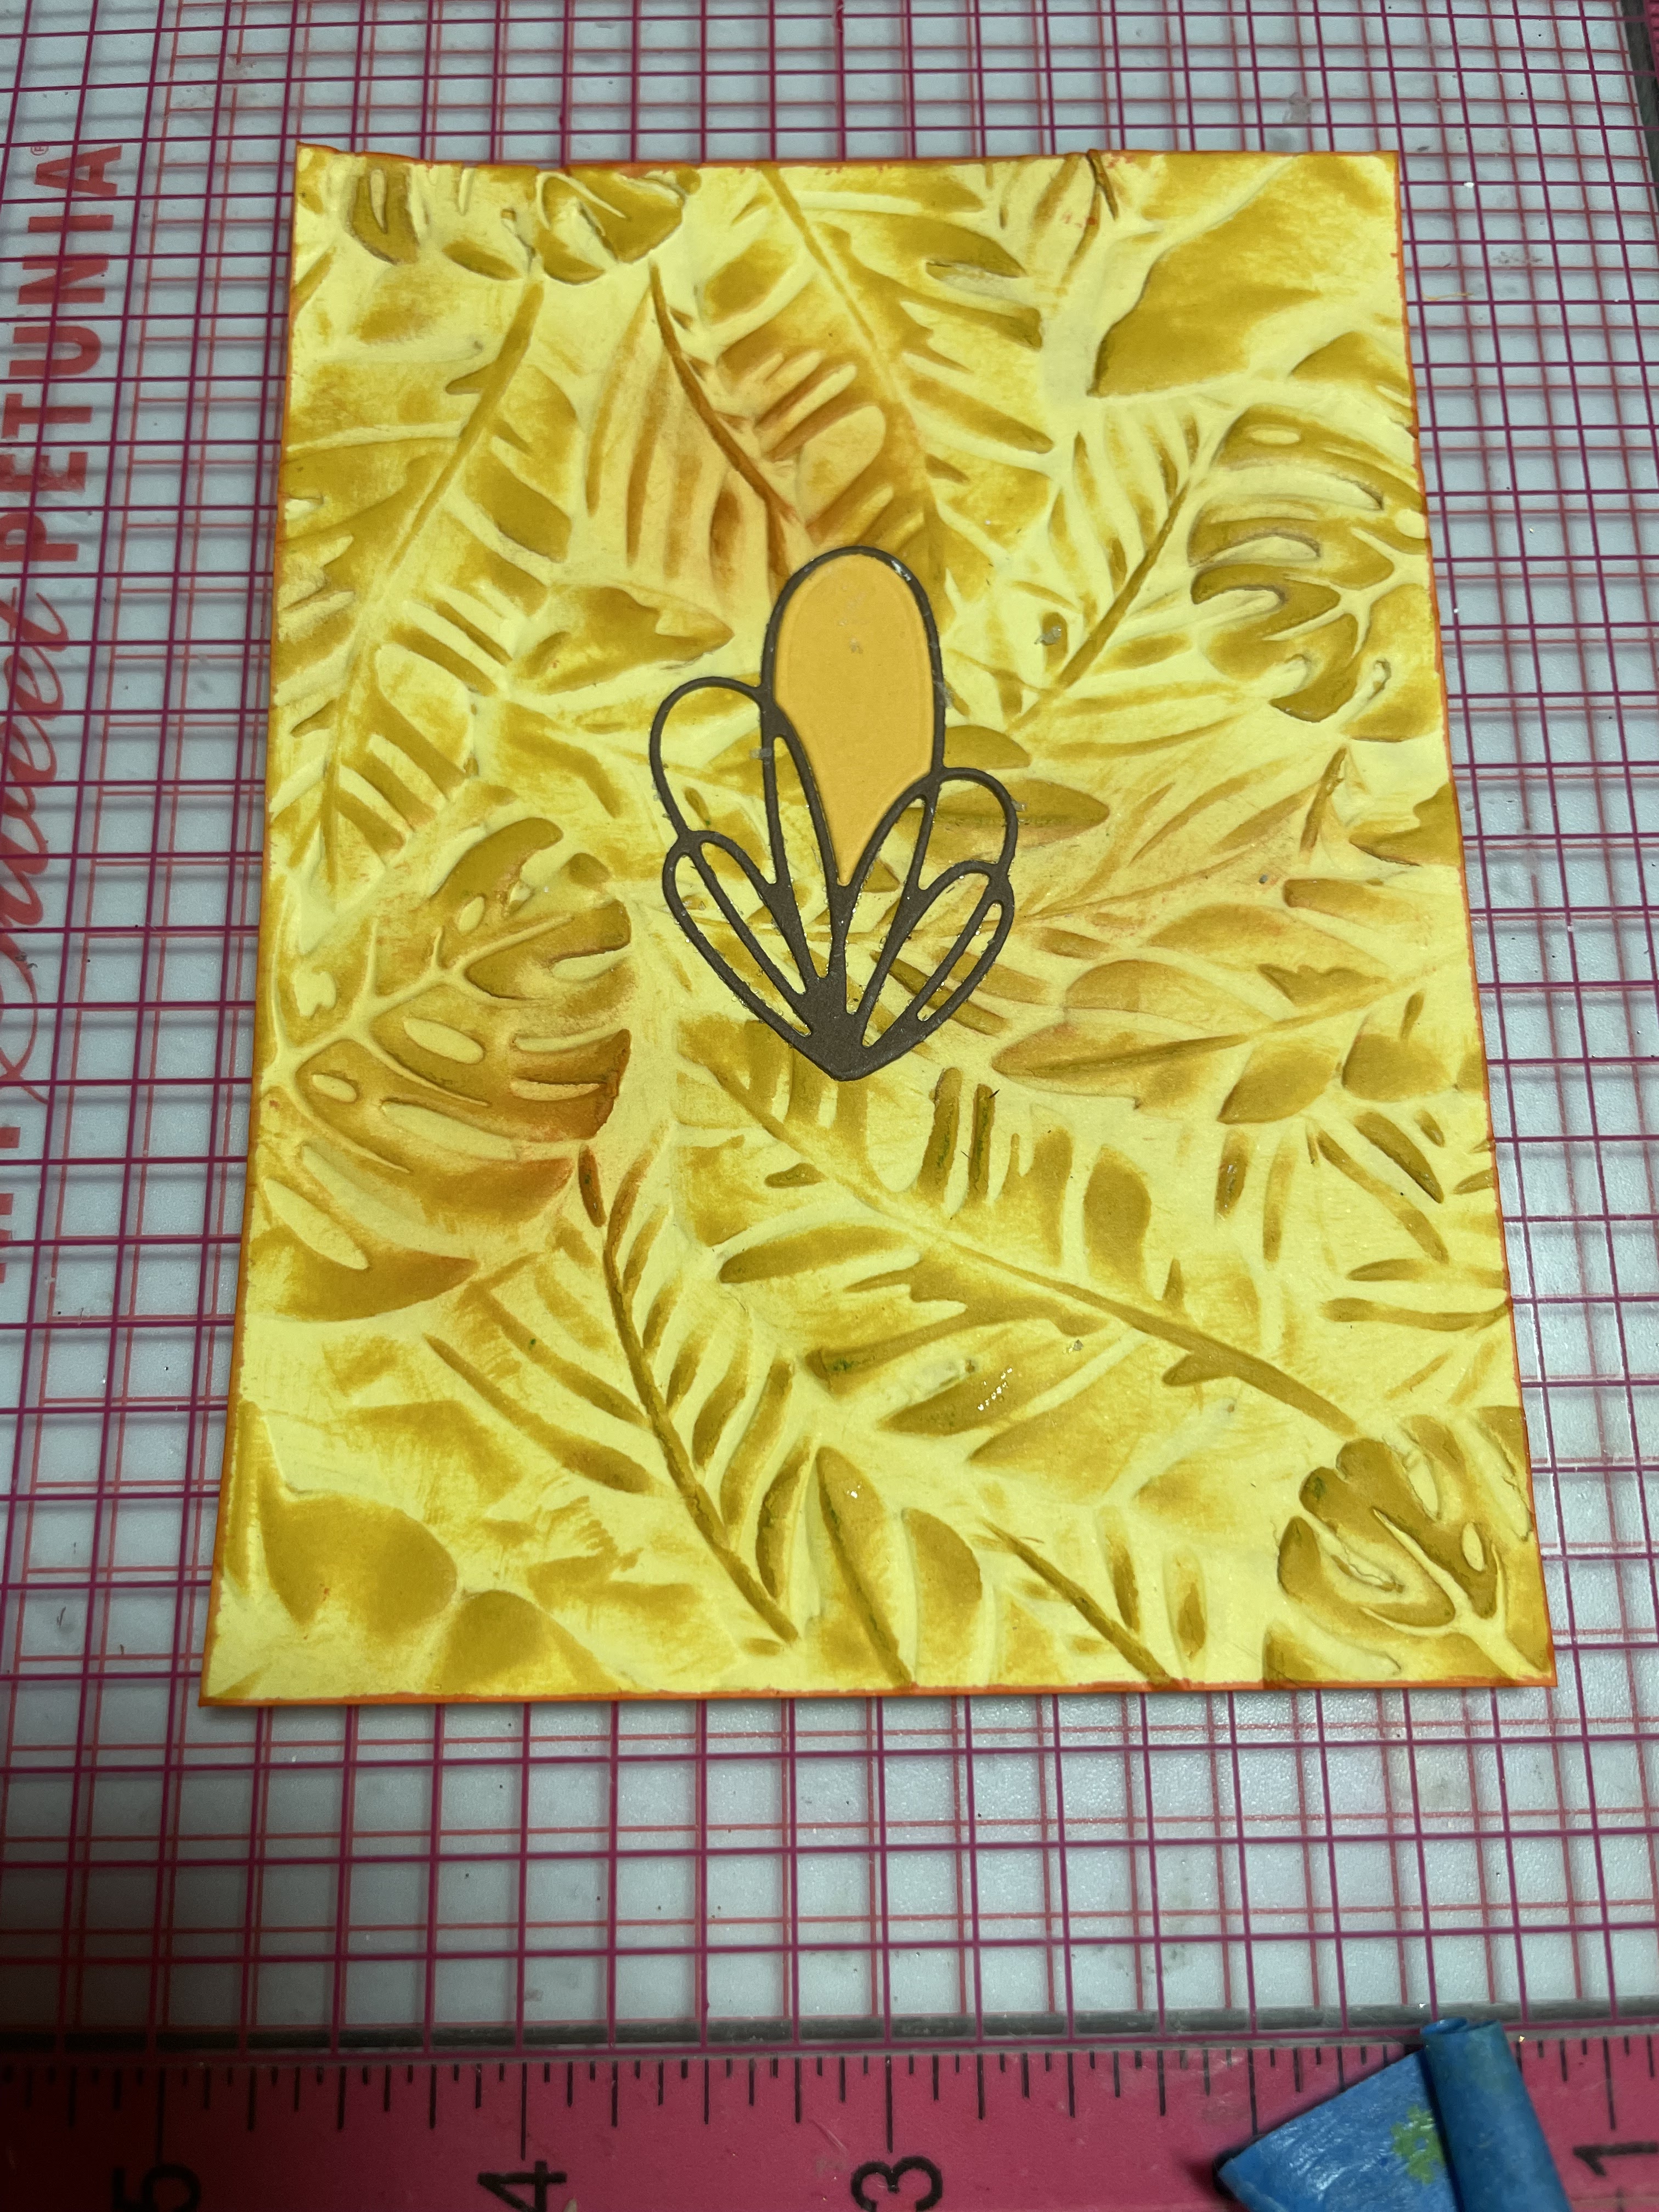
Center Panel

Friday, July 22, 2022

Altenew Academy Level 2: In The Mood For Color


                         SYMPATHY

The mood that I chose to represent is "sympathy". I used Yellow for the main color even though yellow
is thought to represent, energy, cheer, and optimism.

When I was in grade school my mother told me of having watched a movie about someone who had died and a loved one visiting her grave noticed yellow butterflies flitting around the gravesite. I don't remember how the person knew that the butterflies were there for the loved one, but they did.

This story seemed so important to my mother that I wrote a little song for her. (VERY LITTLE)
                                      " Pretty yellow butterfly
                                         Sing to me a lullaby
                                        Pretty yellow butterfly
                                         Come along with me"


This memory is so special to me and, although it is about death, it is also about love and hope. And a special memory between me and my mother, who always loved my sister best! (if you are old enough to remember this notion from the Smother's Brothers show)
 
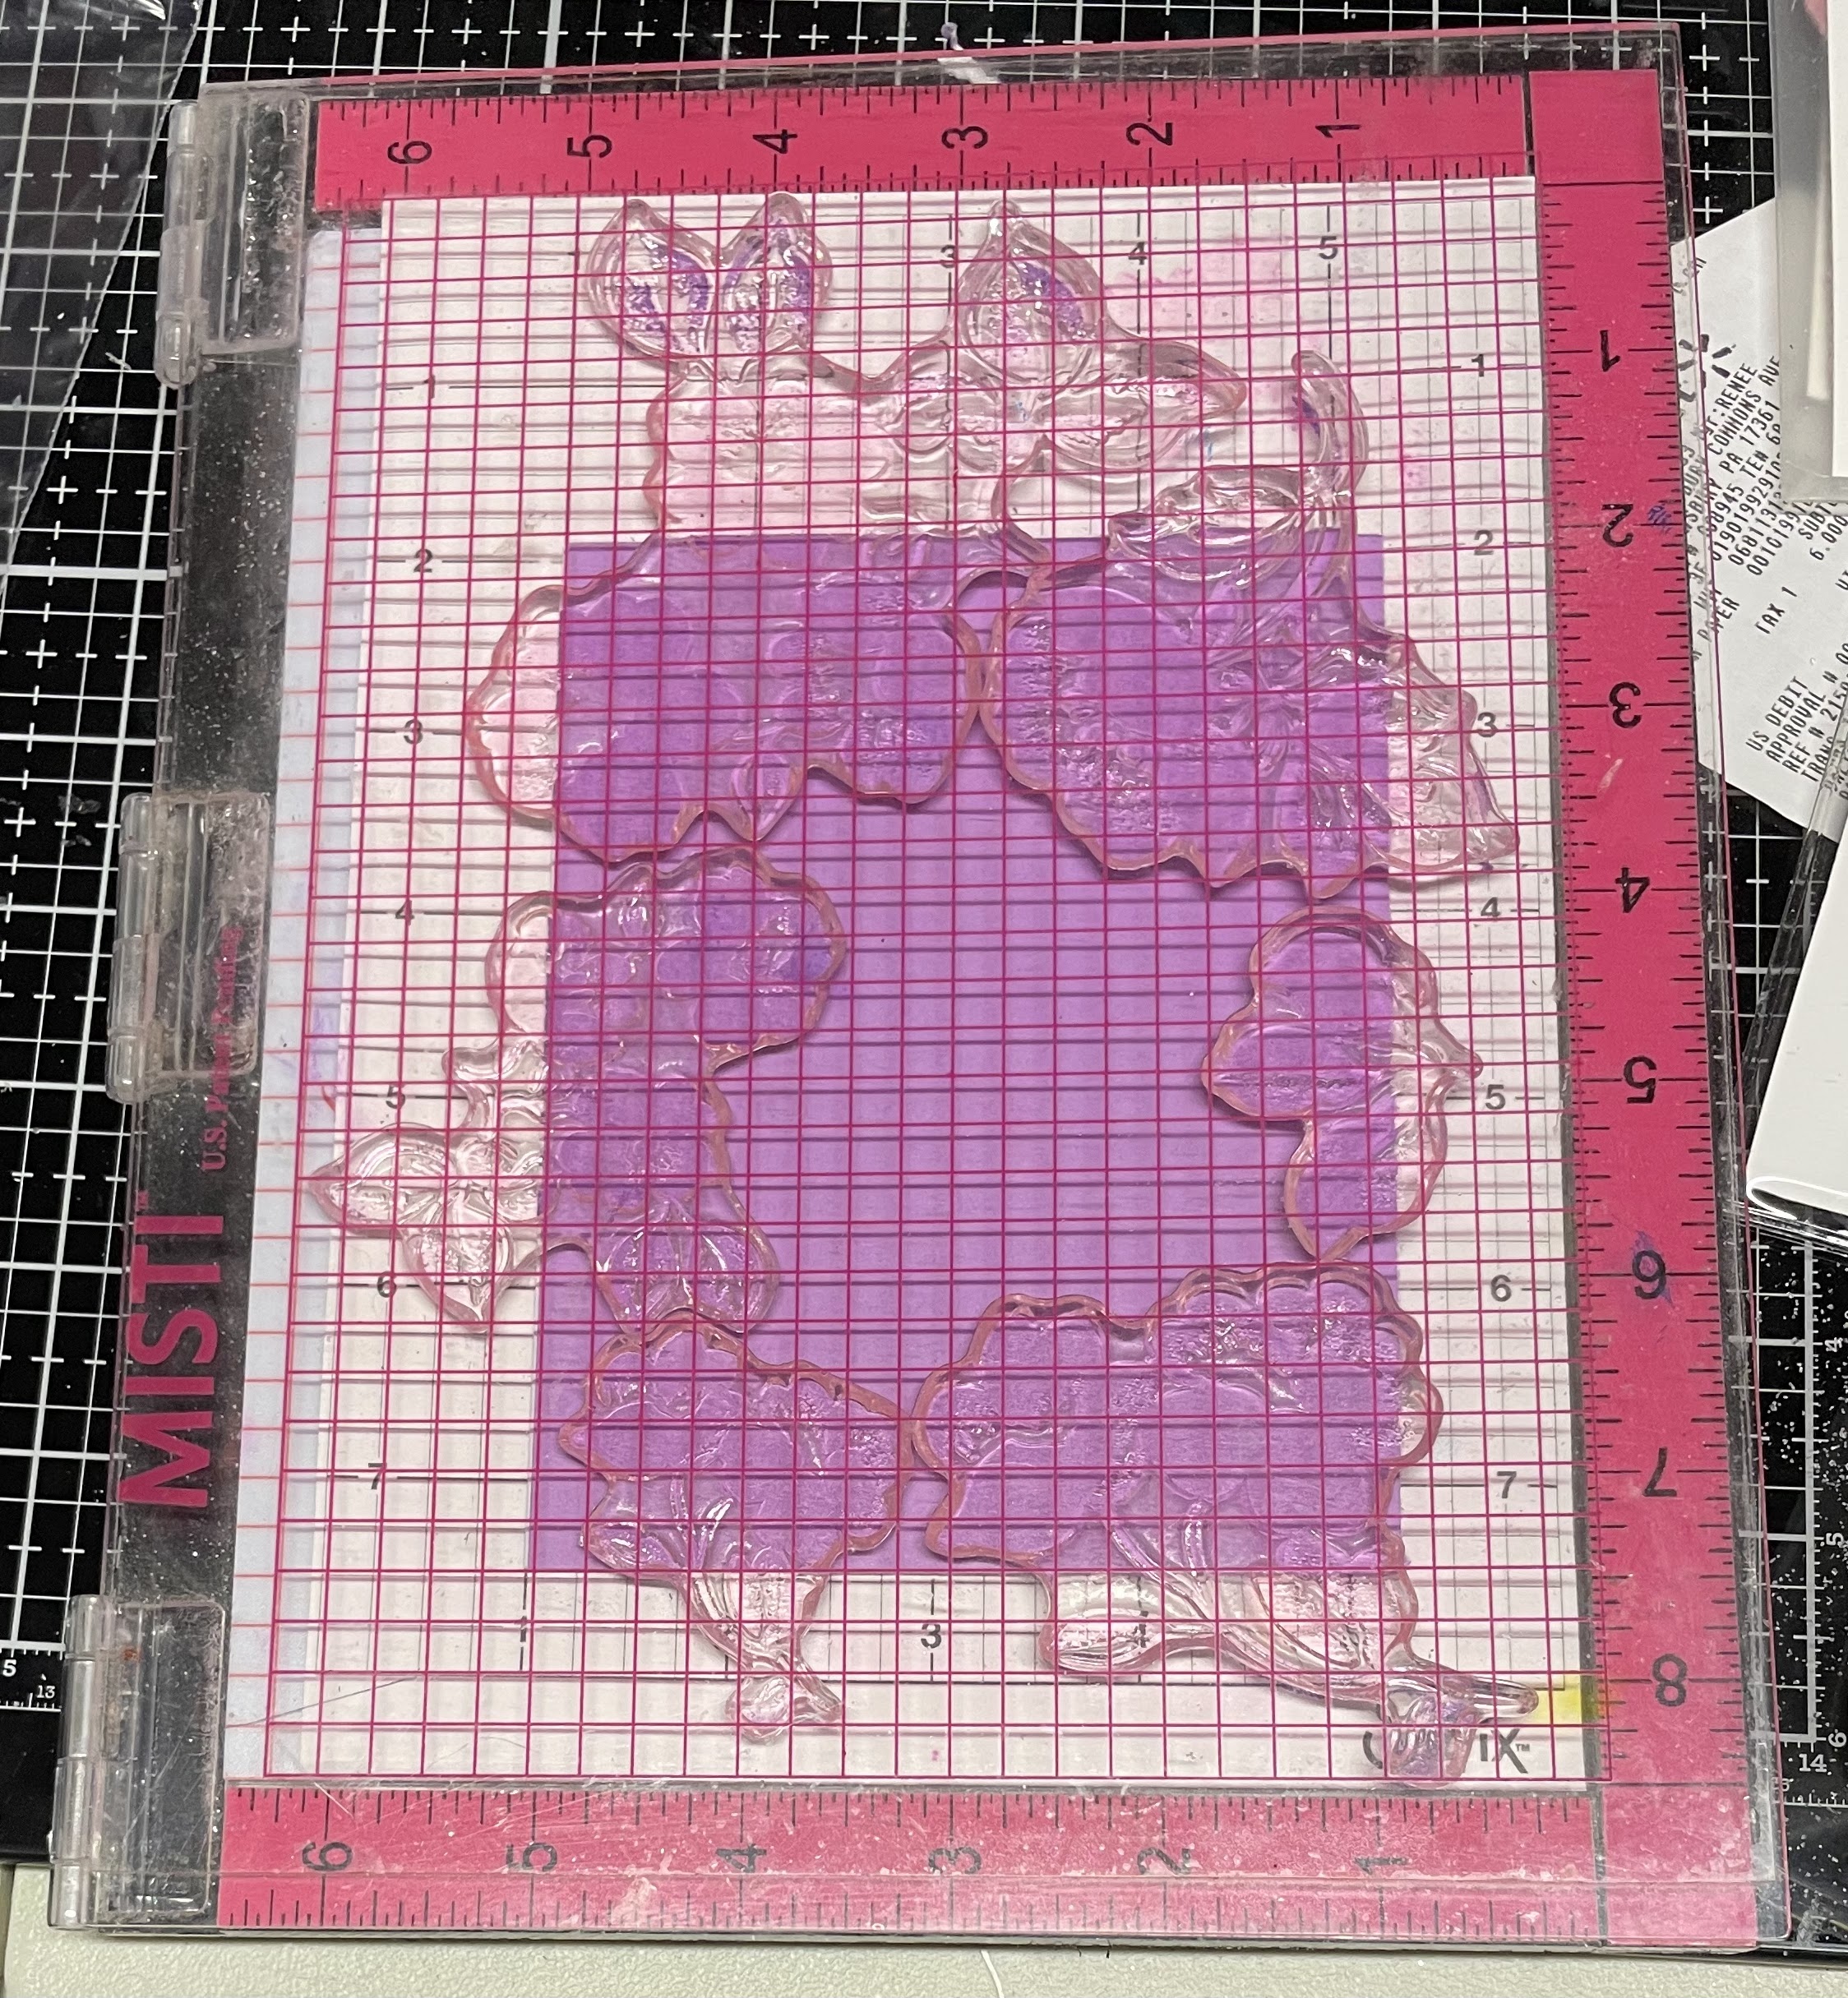
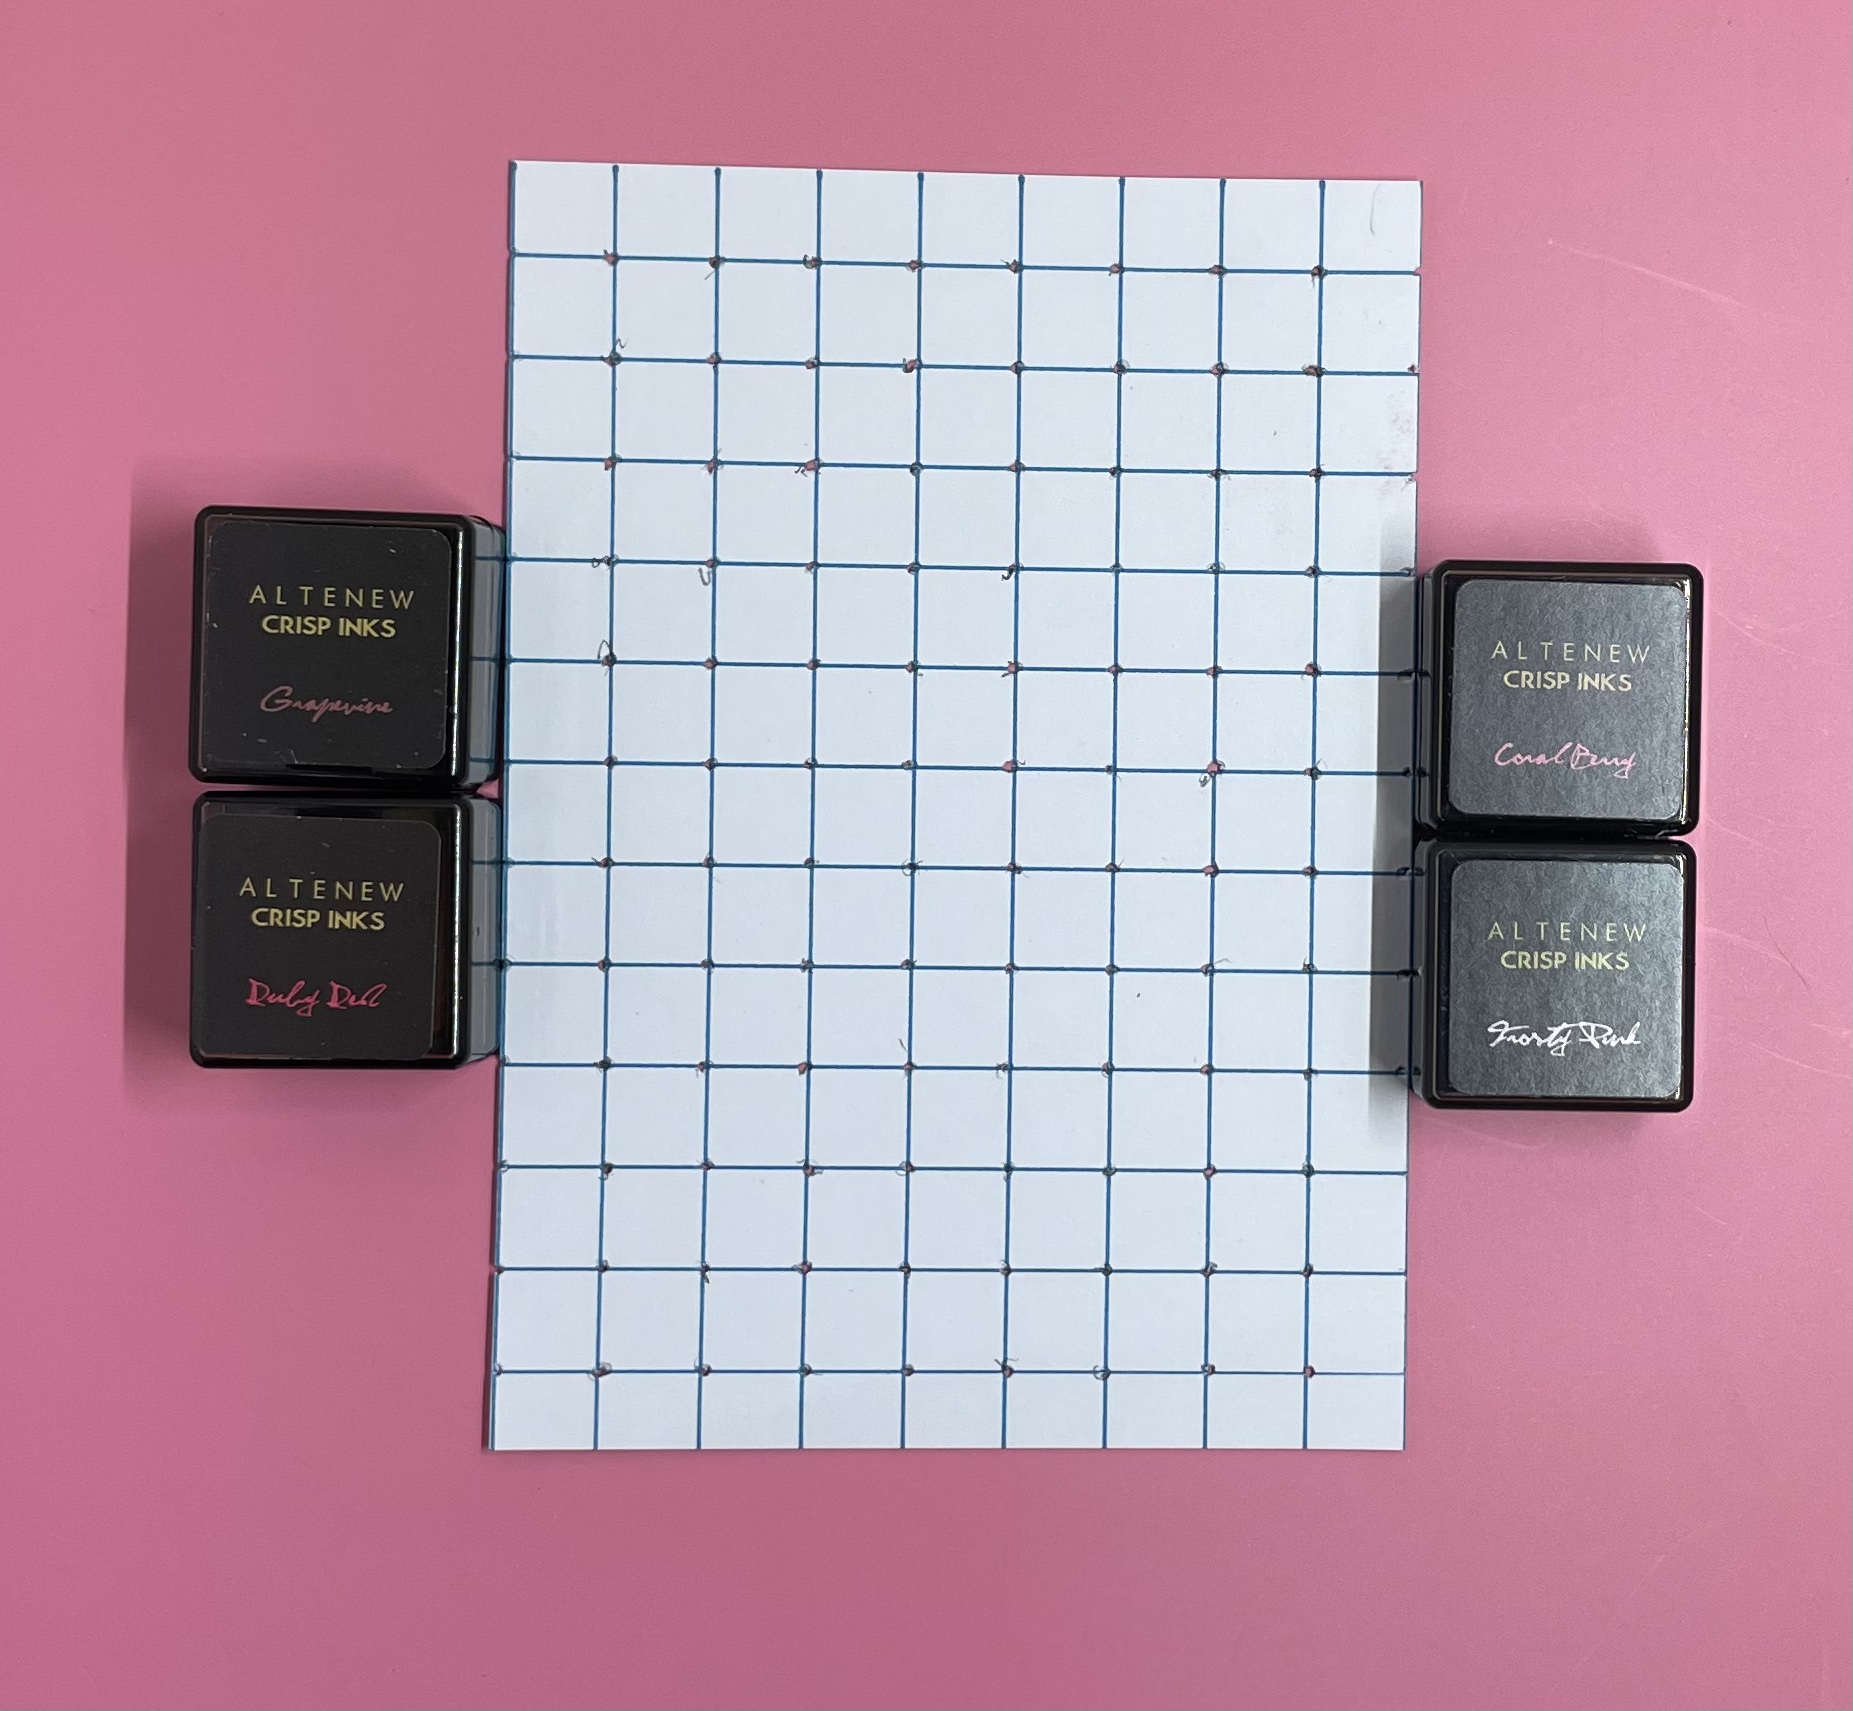
I was excited to use my Altenew "Painted Butterflies" stamp set as it is one of my favorites. To color them I used the yellows from the Golden Sunset and Pocket Full of Sunshine Crisp Dye Ink Cube sets.
And embellished with gold jewel dots


After stamping I mounted the white layer onto a matching yellow layer 
and then adhered to a black card base


Thinking I was done I then realized a little bling might be a good touch
and added some gold beads as seen in the top. photo.


Monday, June 27, 2022

ALTENEW ACADEMY LEVEL2: IMPRESSIVE HEAT EMBOSSING


                                   I was so excited to try this technique using clear embossing!


The stamp set that I chose for this project is

Altenew's Frosted Garden.

I randomly selected stamps and arranged them in

what I hoped would be a pleasing pattern and 

leave enough room for a sentiment and then stamped the first layer

using Altenew Deep Iris Crisp Dye ink and

was very pleased with the result.


I then chose a piece of purple card stock as close

to the color of the Deep Iris ink as I could find

and, leaving the stamps in the same place as

the first stamping, stamped using clear embossing ink

and heat embossed that.


Using a rectangular cutting die I cut the 

embossed piece to be small enough to 

allow the design on the first stamped piece 

to show and, after stamping the sentiment from the Altenew

Painted Inspiration stamp set, adhered foam tape and lined

the two pieces so that the designs overlapped.


I really love this technique and can't wait to use again!


Tuesday, June 7, 2022

Altenew Academy: Creative Watercolor Media


 I chose, once again, to use a repeat stamp design so that I can solidify the 

progress I made learning to make my previous card. 

I have to say I LOVE how it turned out!


It took a few tries to get it the way I wanted it, but finally got there!

The first thing I did was to clear emboss the outline stamping of the flower.
If you look closely you can just make out the outlined shapes.


Then I stamped a variety of the Altenew Crisp Dye Inks onto a pallette
and, adding water, used them to color the flowers.


It took a couple tries until I got the look I was trying for


But at last success was achieved


I trimmed and matted it onto a purple layer
and added the sentiment.
This is definately a technique I will use again.

Monday, May 30, 2022

Altenew Academy: Color Your Day


  I loved making this card from the Color Your Day  classes. 
I got to use one of my favorite stamp sets "Peony Bouquet"as well as 
practice a technique I often struggle with, which is placement when stamping
multiple images.


        I used my Misti for help in
              stamping the images using the Altenew 
            "Shades of Purple" Crisp Dye Ink Cube set


Next I used gold paper to cut the Altenew THANKS die

 and two rectangle dies to cut a border the the THANKS 

                              die cut and mounted them to the card front                                 


I mounted the card front to an  Altenew

double sided sticky sheet to mount it to

the card front.

Wednesday, May 18, 2022

Altenew Academy Beyond Basic Backgrounds


I had to make two 
versions of this card because I had such a struggle getting it right!

The instructor used a ruler that I didn't have access to for creating a grid 
so I had to create my own.

I designed the grid lines using Cricut Design Space
and then poked holes at each join mark using a
"pokey tool"


There were several failed attempts before I got the patterning correct.

                                                                               
   I used one of the small squares from the Altenew 
Halftone Squares stamp set for the design.

The larger card was embellished using the Altenew Halftone Happy 
stamp set and cut using the Altenew HAPPY die.


                                                                And for the smaller card
                                                                   I used the Altenew
                                                                     Fancy Hugs Die

Friday, April 29, 2022

ALTENEW ACADEMY LEVEL TWO "BEAUTIFUL DETAILS"

  All of the classes in this section were so lovely and the techniques used were inspiring. Having to choose just one was difficult but my choice was made by having only a limited number of stamps to choose from.


The technique I used was Alcohol Ink Coloring. I used only the outline stamp from the large flower in the Lush Garden stamp set and stamped it using Memento Paris Dusk ink.


                       After coloring the first flower using Copic Alcohol ink NOS. V01, V04, V15, V17, and    V20 ,I masked that off and stamped a second flower. 


The second flower was colored using Copic Alcohol ink markers B23, B29, and B32


After coloring both flowers I masked them and stamped the leaves which were then colored using Copic Alcohol Ink Markers G07, G28, G21, and YG11


The flower centers were colored using Copic Alcohol ink nos. Y06 and Y35

The flower layer was adhered to a solid green card stock layer and then both were adhered to an A2 white card base.


My original intent was to have the fold to the left but, after turning it around I liked the top fold orientation better.


Tuesday, April 26, 2022

Altenew Men's and Women's Cards Part 2


My Previous Post for the final submission for completion of section 1 of the Altenew Academy was rejected due to my misunderstanding of the requirements for the assignment. Although I was disappointed, I was excited to produce new Men's and Women's Card Sets.


\


The theme of the Men's Set is Leaves. I chose several from the two Altenew Leaf Die Sets I have and featured unique backgrounds for each card
The Women's set uses a different technique for each card but they all contain elements from the
Altenew Craft Your Life Lush Garden Project Kit


This background uses the debossed side of the embossing folder and was colored with a combination of brown and orange inks applied wit blending brushes.


The sticker was made using the out line from a dark brown cut and the leaf petals from an orange cut. The edges were then inked using a darker orange ink cube and then adhered to an orange card base

The background for the tree card was made with embossing paste made by mixing white embossing paste mixed with gold alcohol ink.  


The background for the green leaf card uses the embossed side of the leaf embossing folder . Although the attached leaves appear to be black in the photo they are actually gold.


The background for the yellow and green card was made using a multi layered Argyle stencil


                                   The card holder was made using a pattern in Cricut Design Space


All of the womens cards were made using elements from the Lush Garden Project Kit


A piece of vellum was embellished with red alcohol ink and stamped with the outline stamp using Versa Mark and then embossed with gold embossing powder. It was then die cut.

                      
The embellishment was then attached to an alcohol ink embellished piece of white card stock and adhered to a purple card base


This card has a gold heat embossed outline stamp which coordinates with the 
alcohol ink colored large flower stamp from the Blooming Bouquet stamp and
die set


                                                   The purple card was made by using the 3D embossing folder with                                                                    white core card stock and then burnishing with a sand eraser.


The last card was colored using Altenew Inks applied
with blending brushes through the stencil from
the Lush Garden Kit


The cards were boxed using a template from Cricut Desing Space