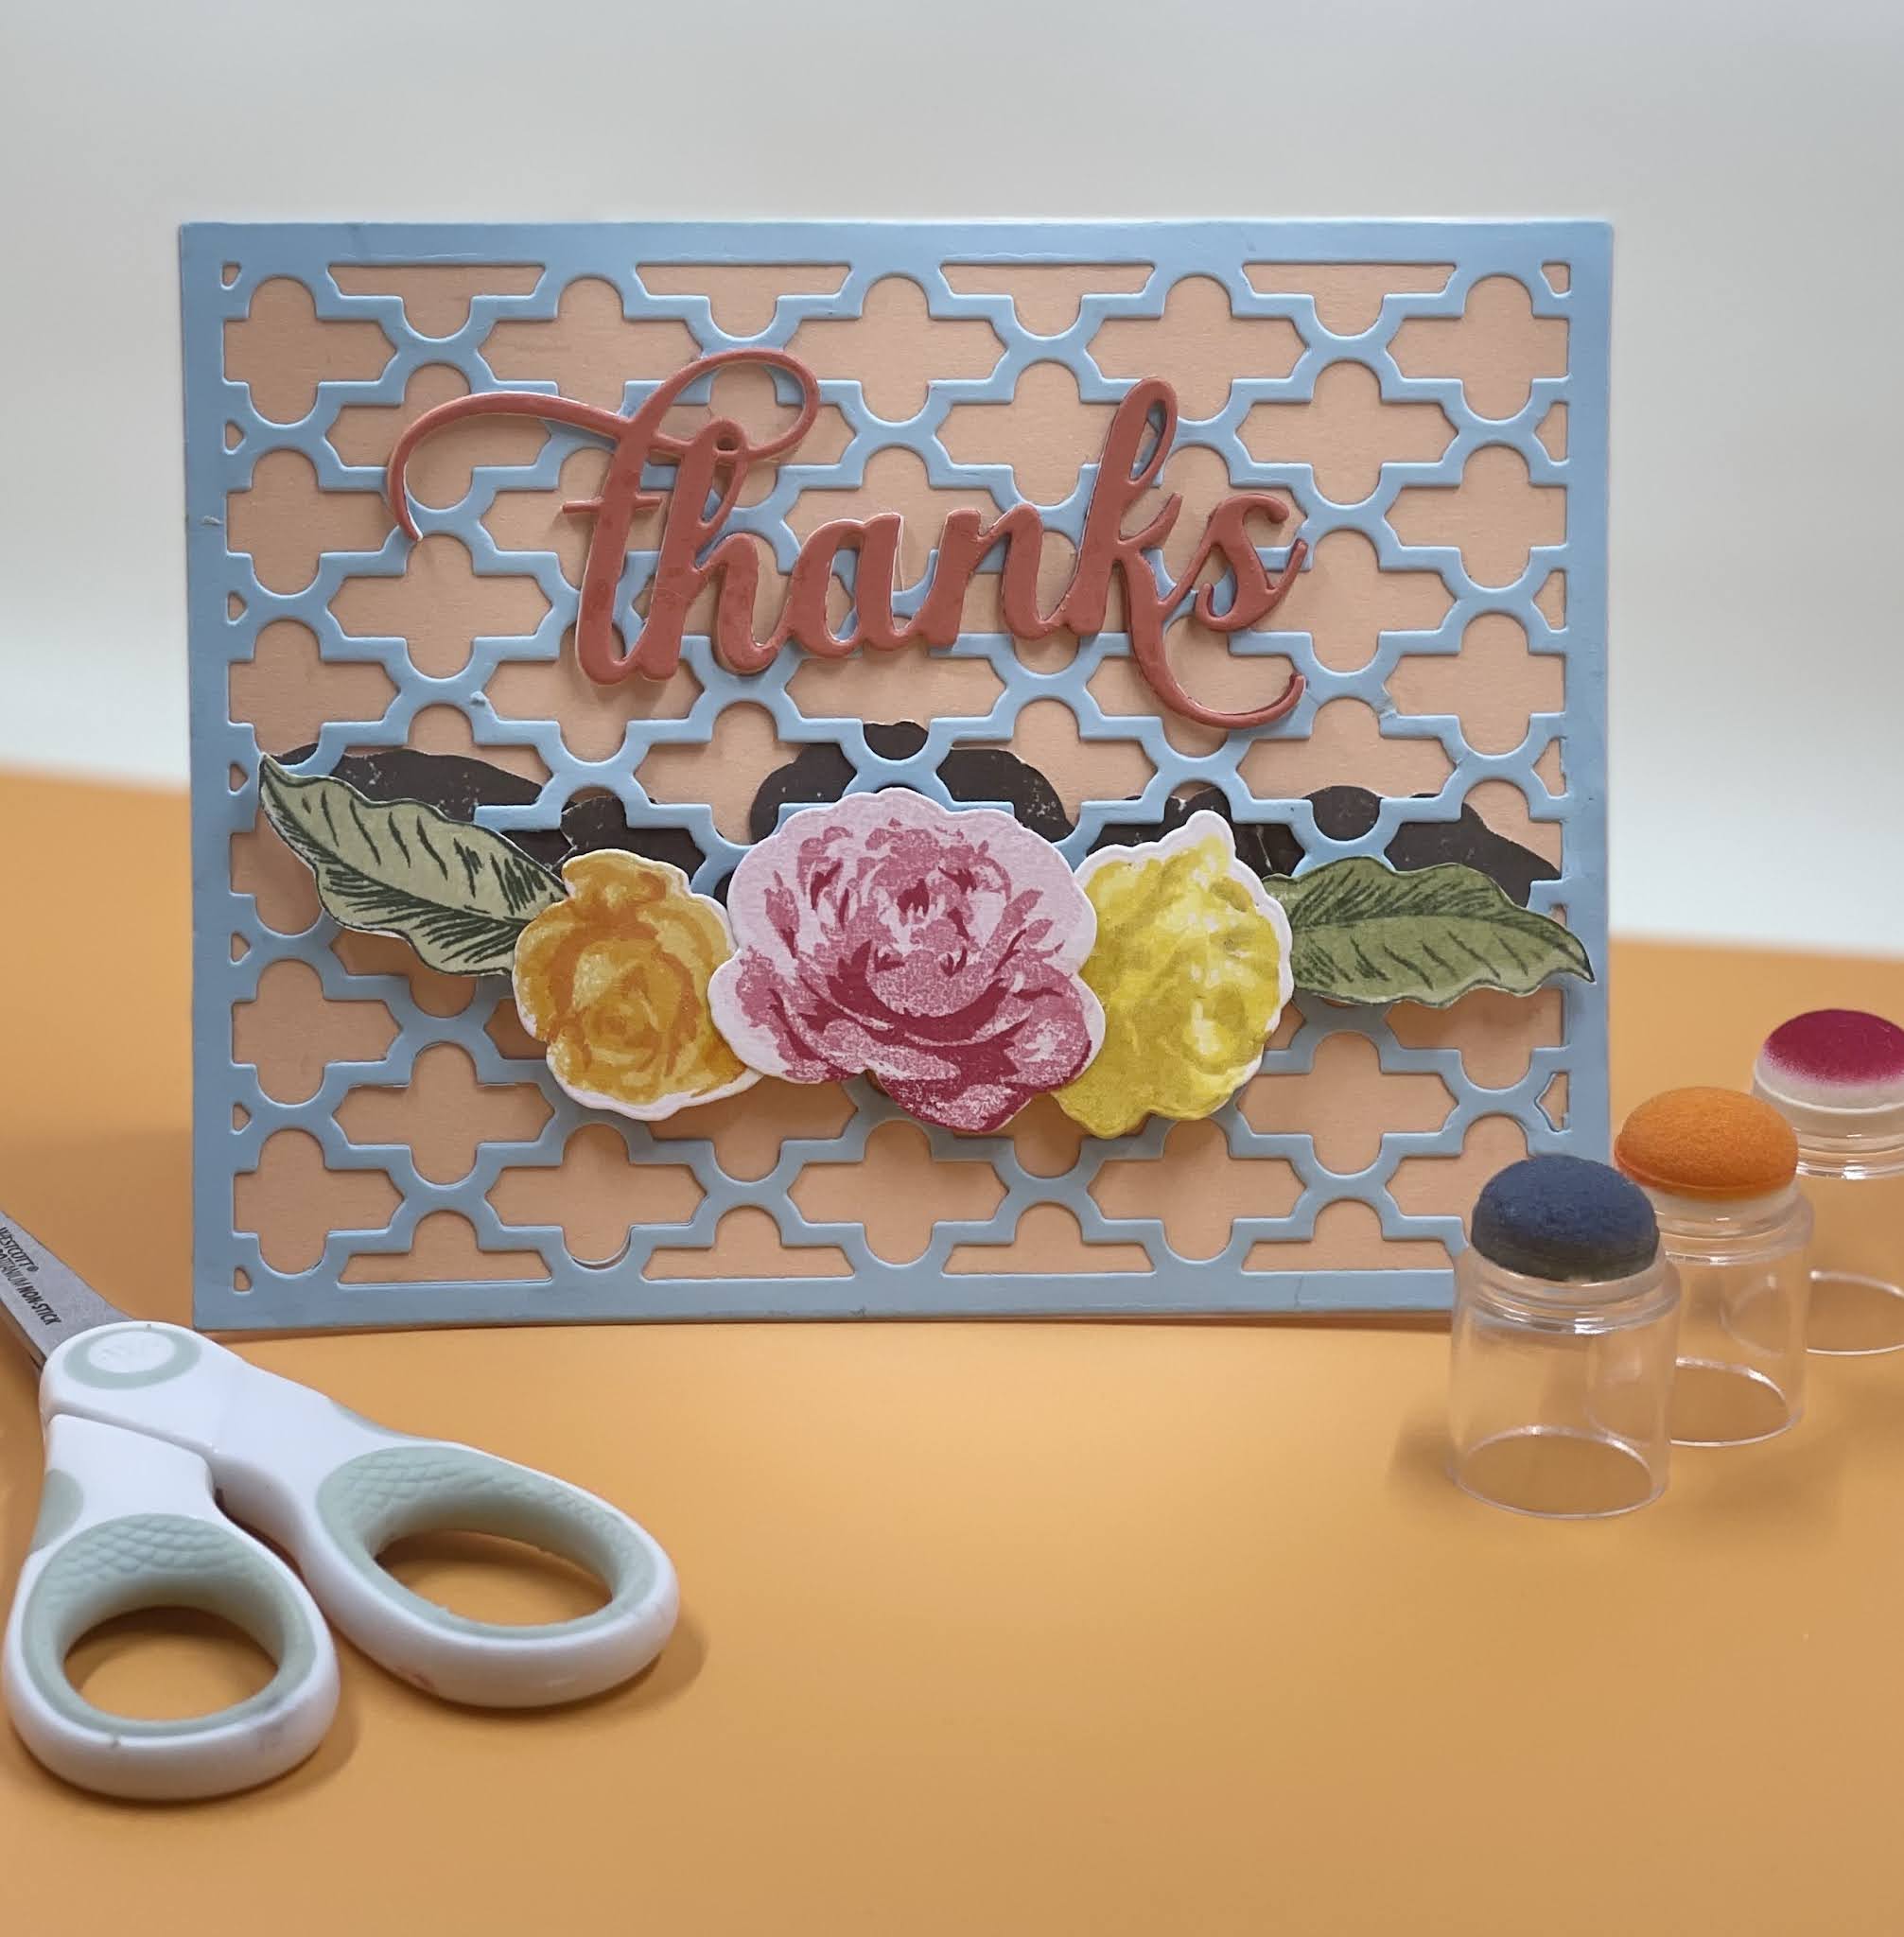
I loved making this card. In fact I loved it so much I made it three times! Each time I found a flaw in my placement and vowed to correct that each time. When on the third try I made the same mistake in placement I decided it was just meant to be this way. Seriously though, I really did love the concept of using the same object in different colors and will definately use this technique again.
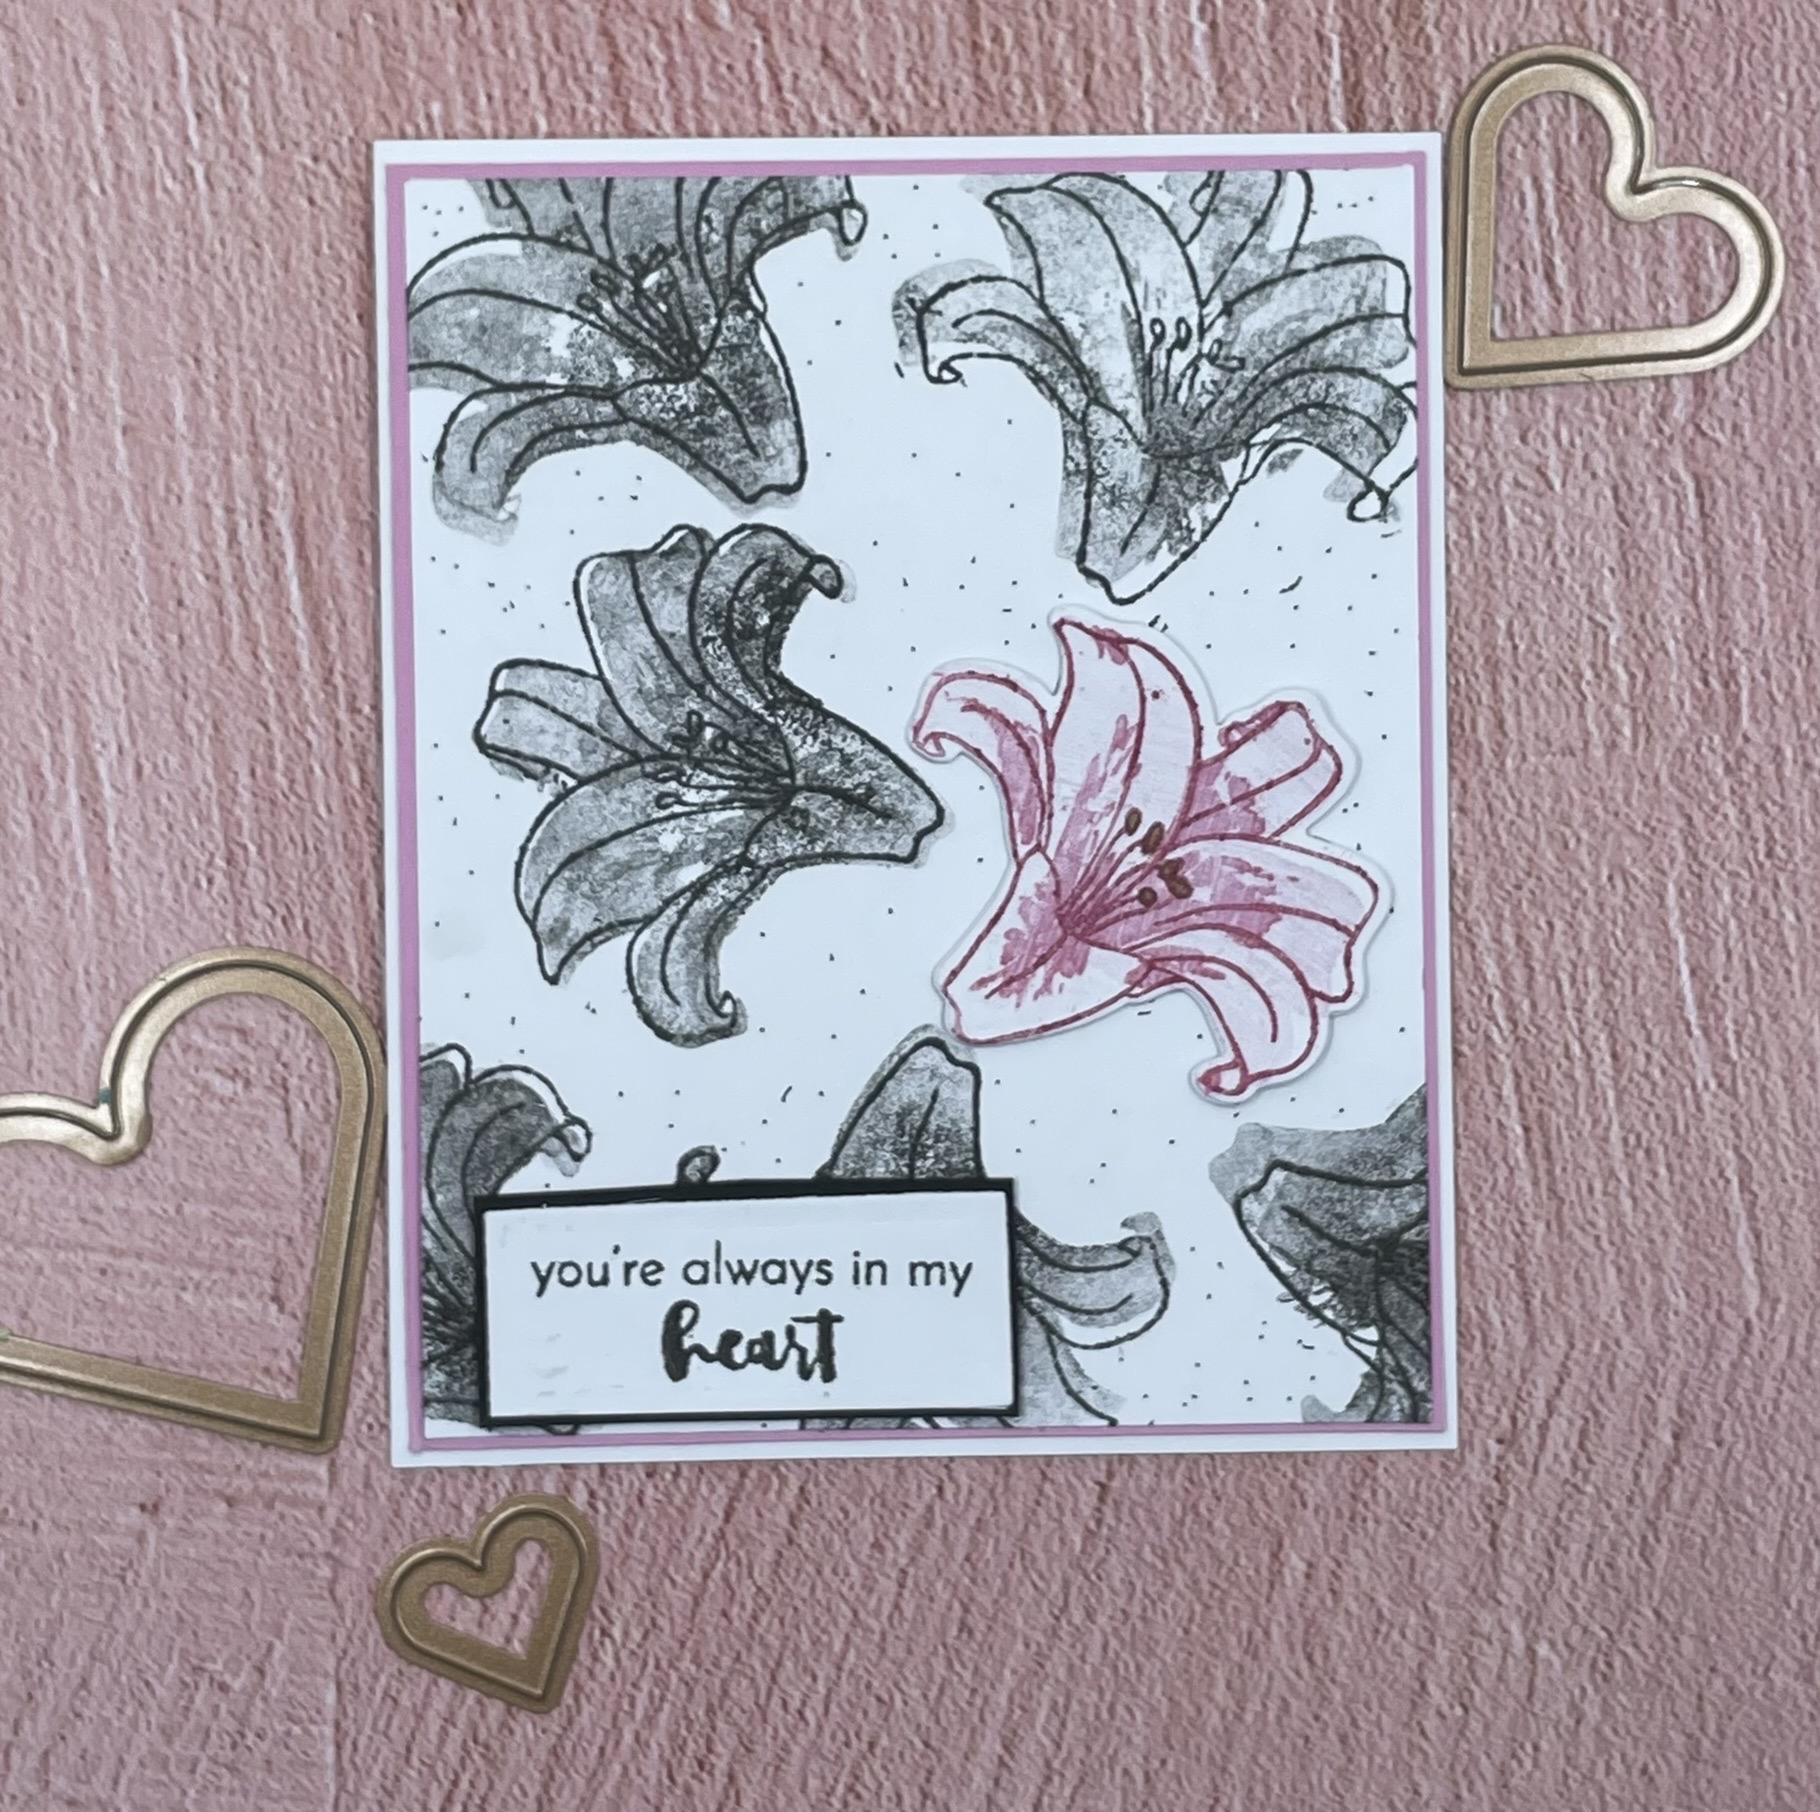
Flower and sentiment from Altenew Inky Lily
Inks used : Warm Gray collection
Red Cosmo collection