Center Panel

Saturday, October 22, 2022

Altenew Academy Level 2: WITH A TWIST


I was so excited to make this card 
as I had all of the same stamps and dies as the demonstration card 
The one exception was the sentiment. Although the words were the same
as the presentation card, my stamp used a different font. However, it is an
Altenew stamp.


The first step was to stamp the leaves. I used Forrest Glade and Frayed Leaf
                                                                                                                             
from the Altenew Green Fields Mini Cube set to stamp the leaves in a

random pattern


I next cut a triangular shape from the front of
the top folded A2 card 


I then stamped two of the butterflies from
the Painted Butterfly stamp set using
Jet black for the outline and Moon 
Rock and Evening Gray for the wings.

And then cut them out using the 
coordinating dies


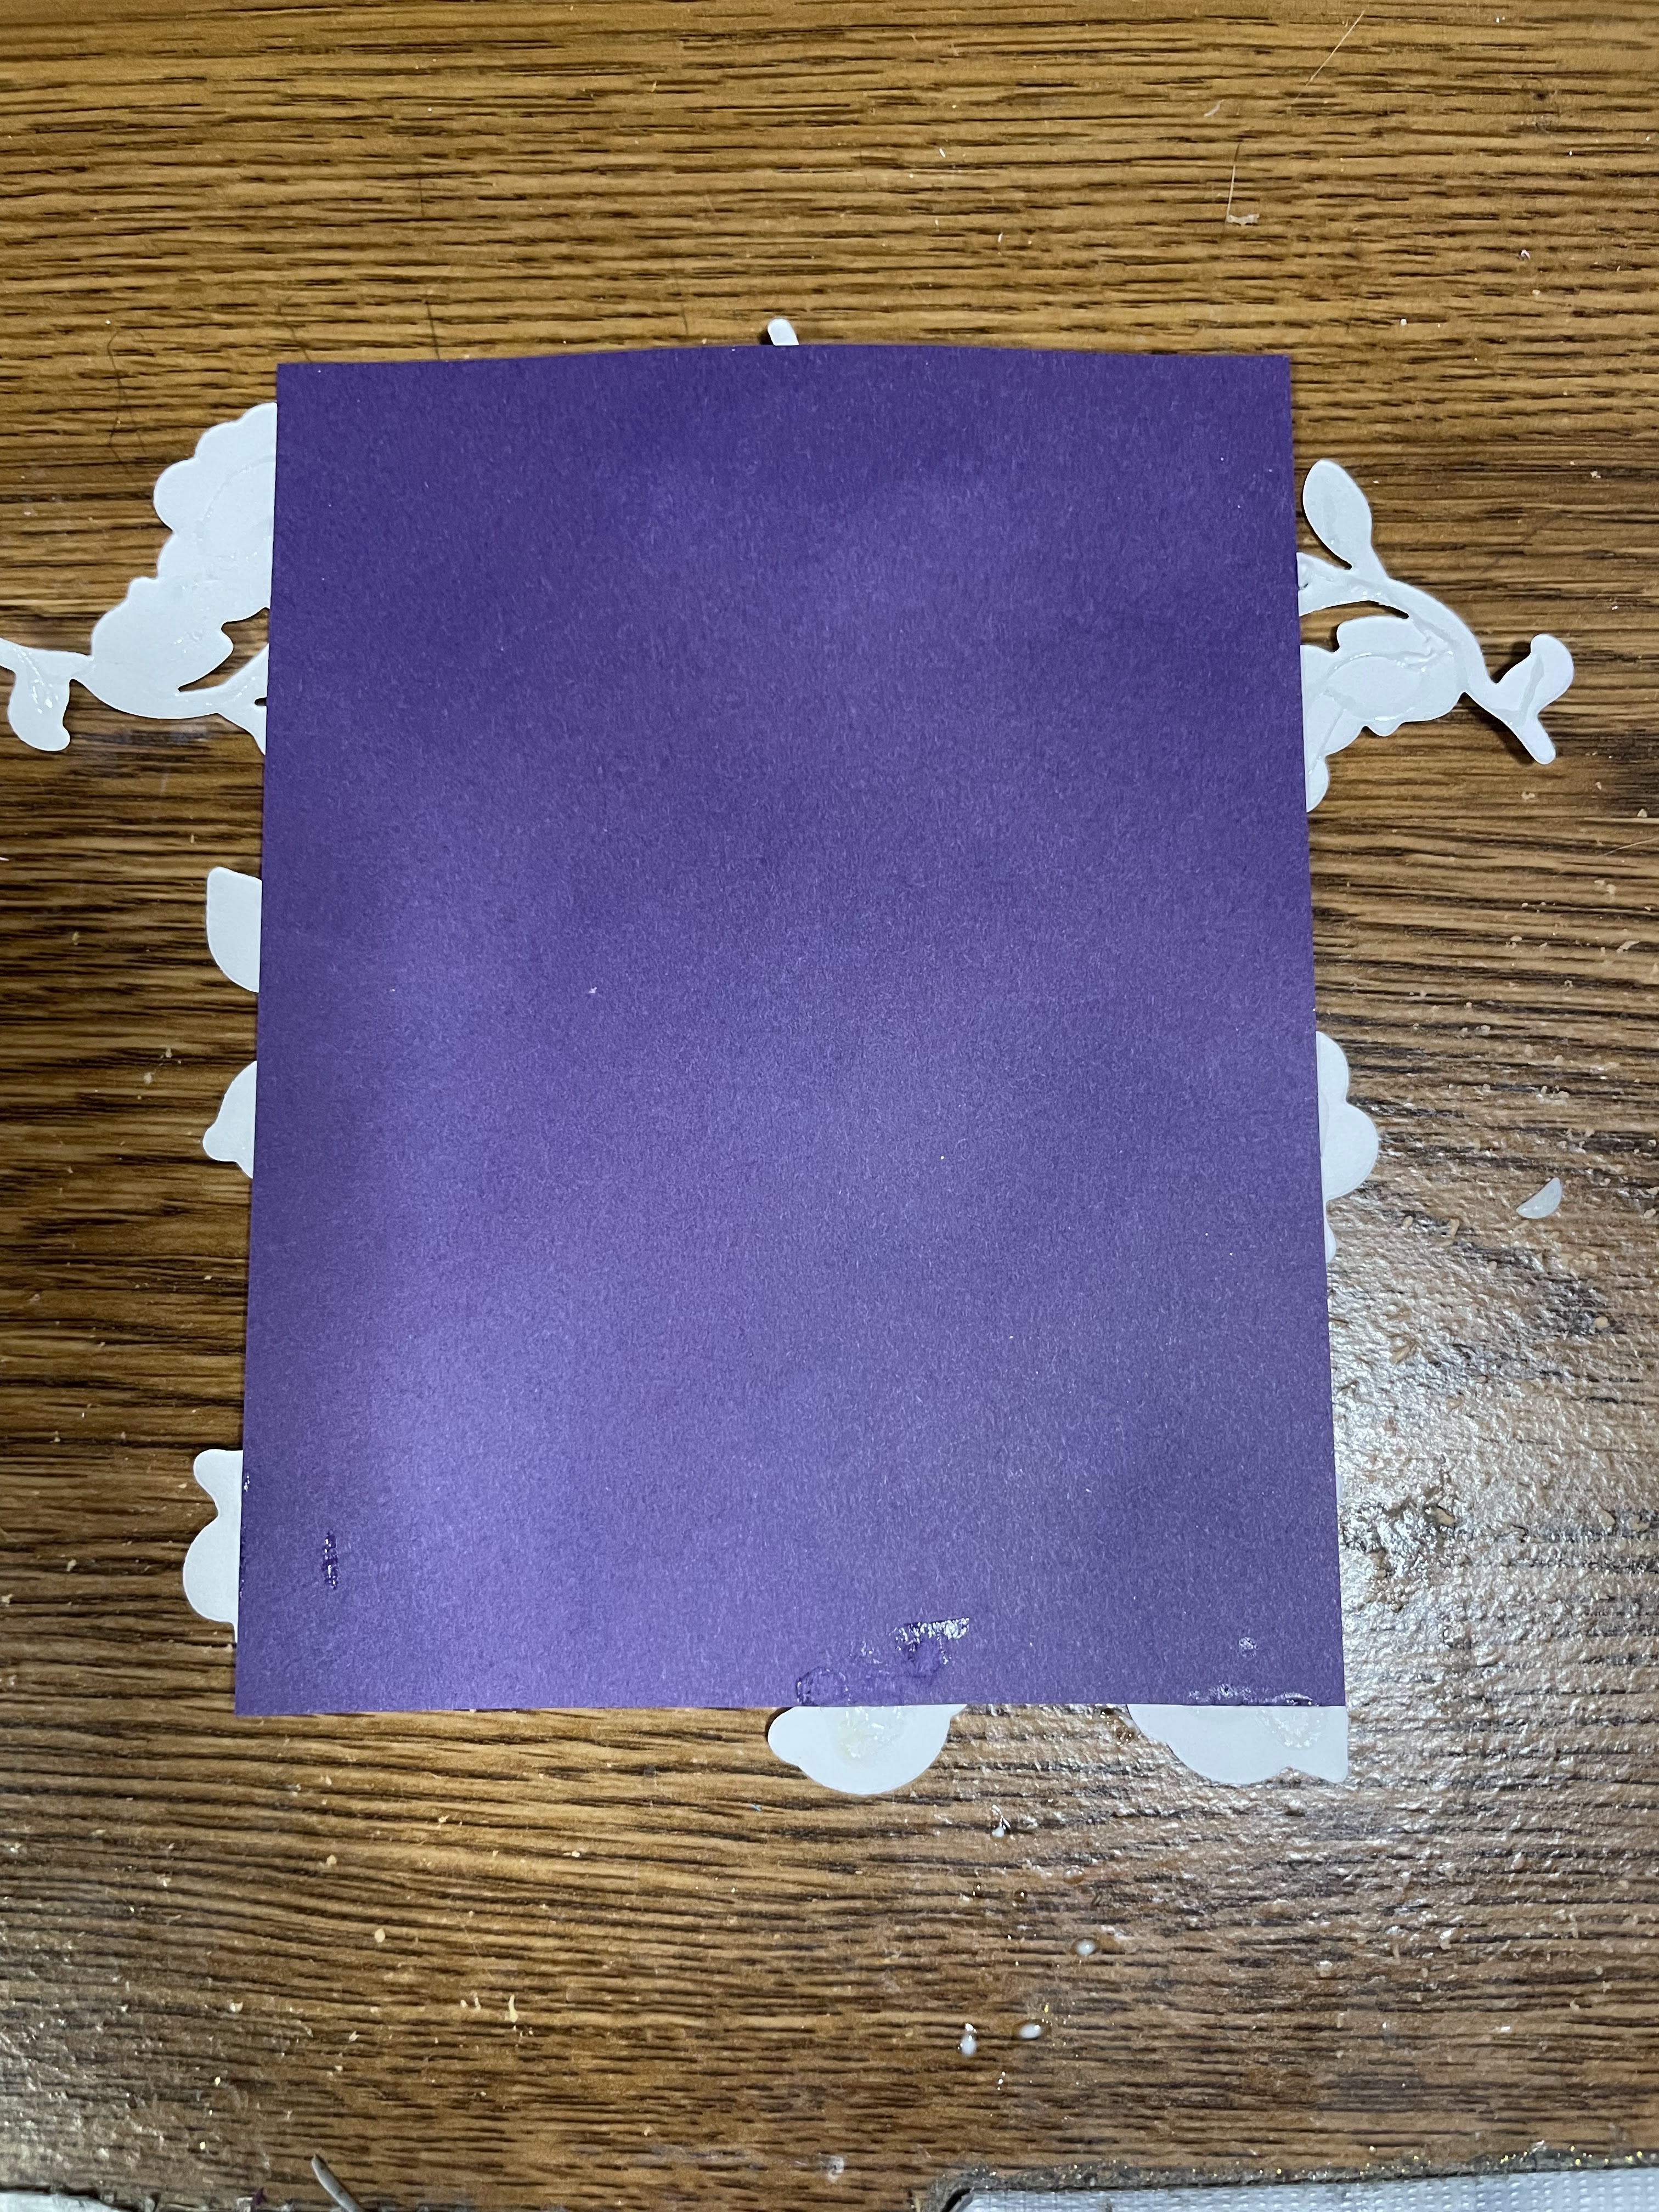
I then adhered a moss green layer to the inside of the card


I used the butterfly stamps to help 
me decide on placement and then
adhered the die cuts to the card front using
glue dots


I was so excited to find that I had the same
sentiment used in the demonstration card
and stamped it on clear acetate rather than
taking a chance on stamping directly to the 
card. It was adhered using clear scor tape 
and lastly embellished with clear drops colored
using a light green copic marker.


Sunday, October 16, 2022

ALTENEW ACADEMY LEVEL TWO: Magical Marker Techniques


 The technique used for this card is one that I expect to use often. Watching the class presentation I expected to have difficulty achieving my goal. However, the instructions and visuals made the technique easy to understand and replicate. I chose the Altenew Frosted Garden set as it provided a nice variety of stamp sizes and shapes.


I stamped and colored several of each of the stamps I wanted to use and colored them using Deep Iris and Midnight Violet Aletenew Crisp Dye Inks.


I cut the stamped images in preparation for die cutting them. After die cutting I tried several arrangements to find the best fit and mix of colors. I chose a dark purple layer cut just under 51/2 by 
4 3/4 so there would be a narrow frame around the layer.

I tried several arrangement and when I was pleased with them glued them into place. Making sure not to cover the sentiment which was embossed using Rose Gold Embossing Powder.


The next step was to turn the card over and cut off the overhaning embellishments. And the last step was to adhere the embellished layer to the card front. I chose a beige card base to reinforce the impact of the gold embossed sentiment.


Thursday, October 13, 2022

Altenew Academy Level 2: Masking


While viewing the lessons for this class I knew I would welcome the
opportunity to use one of my favorite Altenew stamp sets. That being
the ADORE YOU set. 

I began by cutting a mask for the large flower from Mint Masking Tape


I then stamped the outline stamp of the large flower using Ranger Black Archival Ink 
to prevent bleeding from the watercoloring I planned to do.

                                                   
                                           After stamping the large flower I masked it off and      
                                            aligned the two side facing flower stamps and 
                                                stamped them, again using archival ink


                                                       Next I was excited to have an opportunity to use
                                                        the new Ranger watercolor crayons (set one)
                                                                       to color the flower images.


                                                      I practiced with several color combinations
                                                       until I was satisfied with the results I was 
                                                       looking for. I also added shading on the
                                                         yellow flowers to emphasize the curves
                                                                            in the petals. 

                                                             Next I, again, used mint tape to mask off
                                                          all three flower images and used a water brush 
                                                        with Ranger cracked pistachio Distress Oxide
                                                         to make a backdrop for the flowers.


                                                          I then uses a shaped die to cut the design.


I layered a matching colored mat onto
an A2 card base and adhered the flower
embellishment to the front of the card and 
added the Adory You "Thank You" stamp.


Below are out takes from all the frustrating mistakes made during the making of this card