Every time a take an Altenew Class the card I make from that class becomes my favorite.
But the card I made today is truly my favorite.
I'm sure I will be using the Faux Watercoloring technique often.
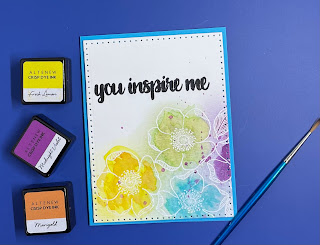
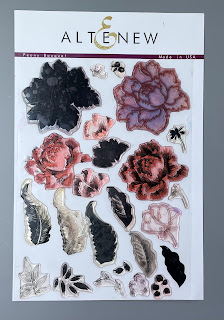
Using flower stamps from the Lush Garden Project Kit I embossed
them using white embossing powder and then used Fresh Lemon,
Marigold, Midnight Violet, and Persian Blue ink from the mini cube
inks to lightly watercolor them.

Next, after stamping several Distress Mini Cube inks on my glass
mat and adding water, I used those colors to add depth to color
of the flowers

Using my Misti stamping tool I stamped the sentiment

After using a dotted rectangle diecutting to cut
the card front to fit an A2 size card
I adhered that to a piece of craft foam.
I also used my newly improved spatter technique but because I used
a large brush my spatters are a bit larger than I would have liked.
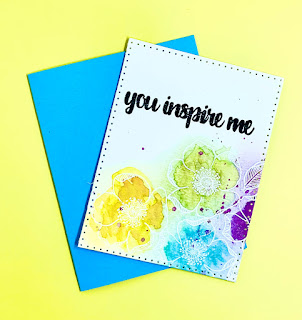
This was a fun and easy card to make but has quite a WOW factor !