Center Panel

Friday, November 5, 2021

Altenew All About Layering Lesson 10 ! YEAH !!!

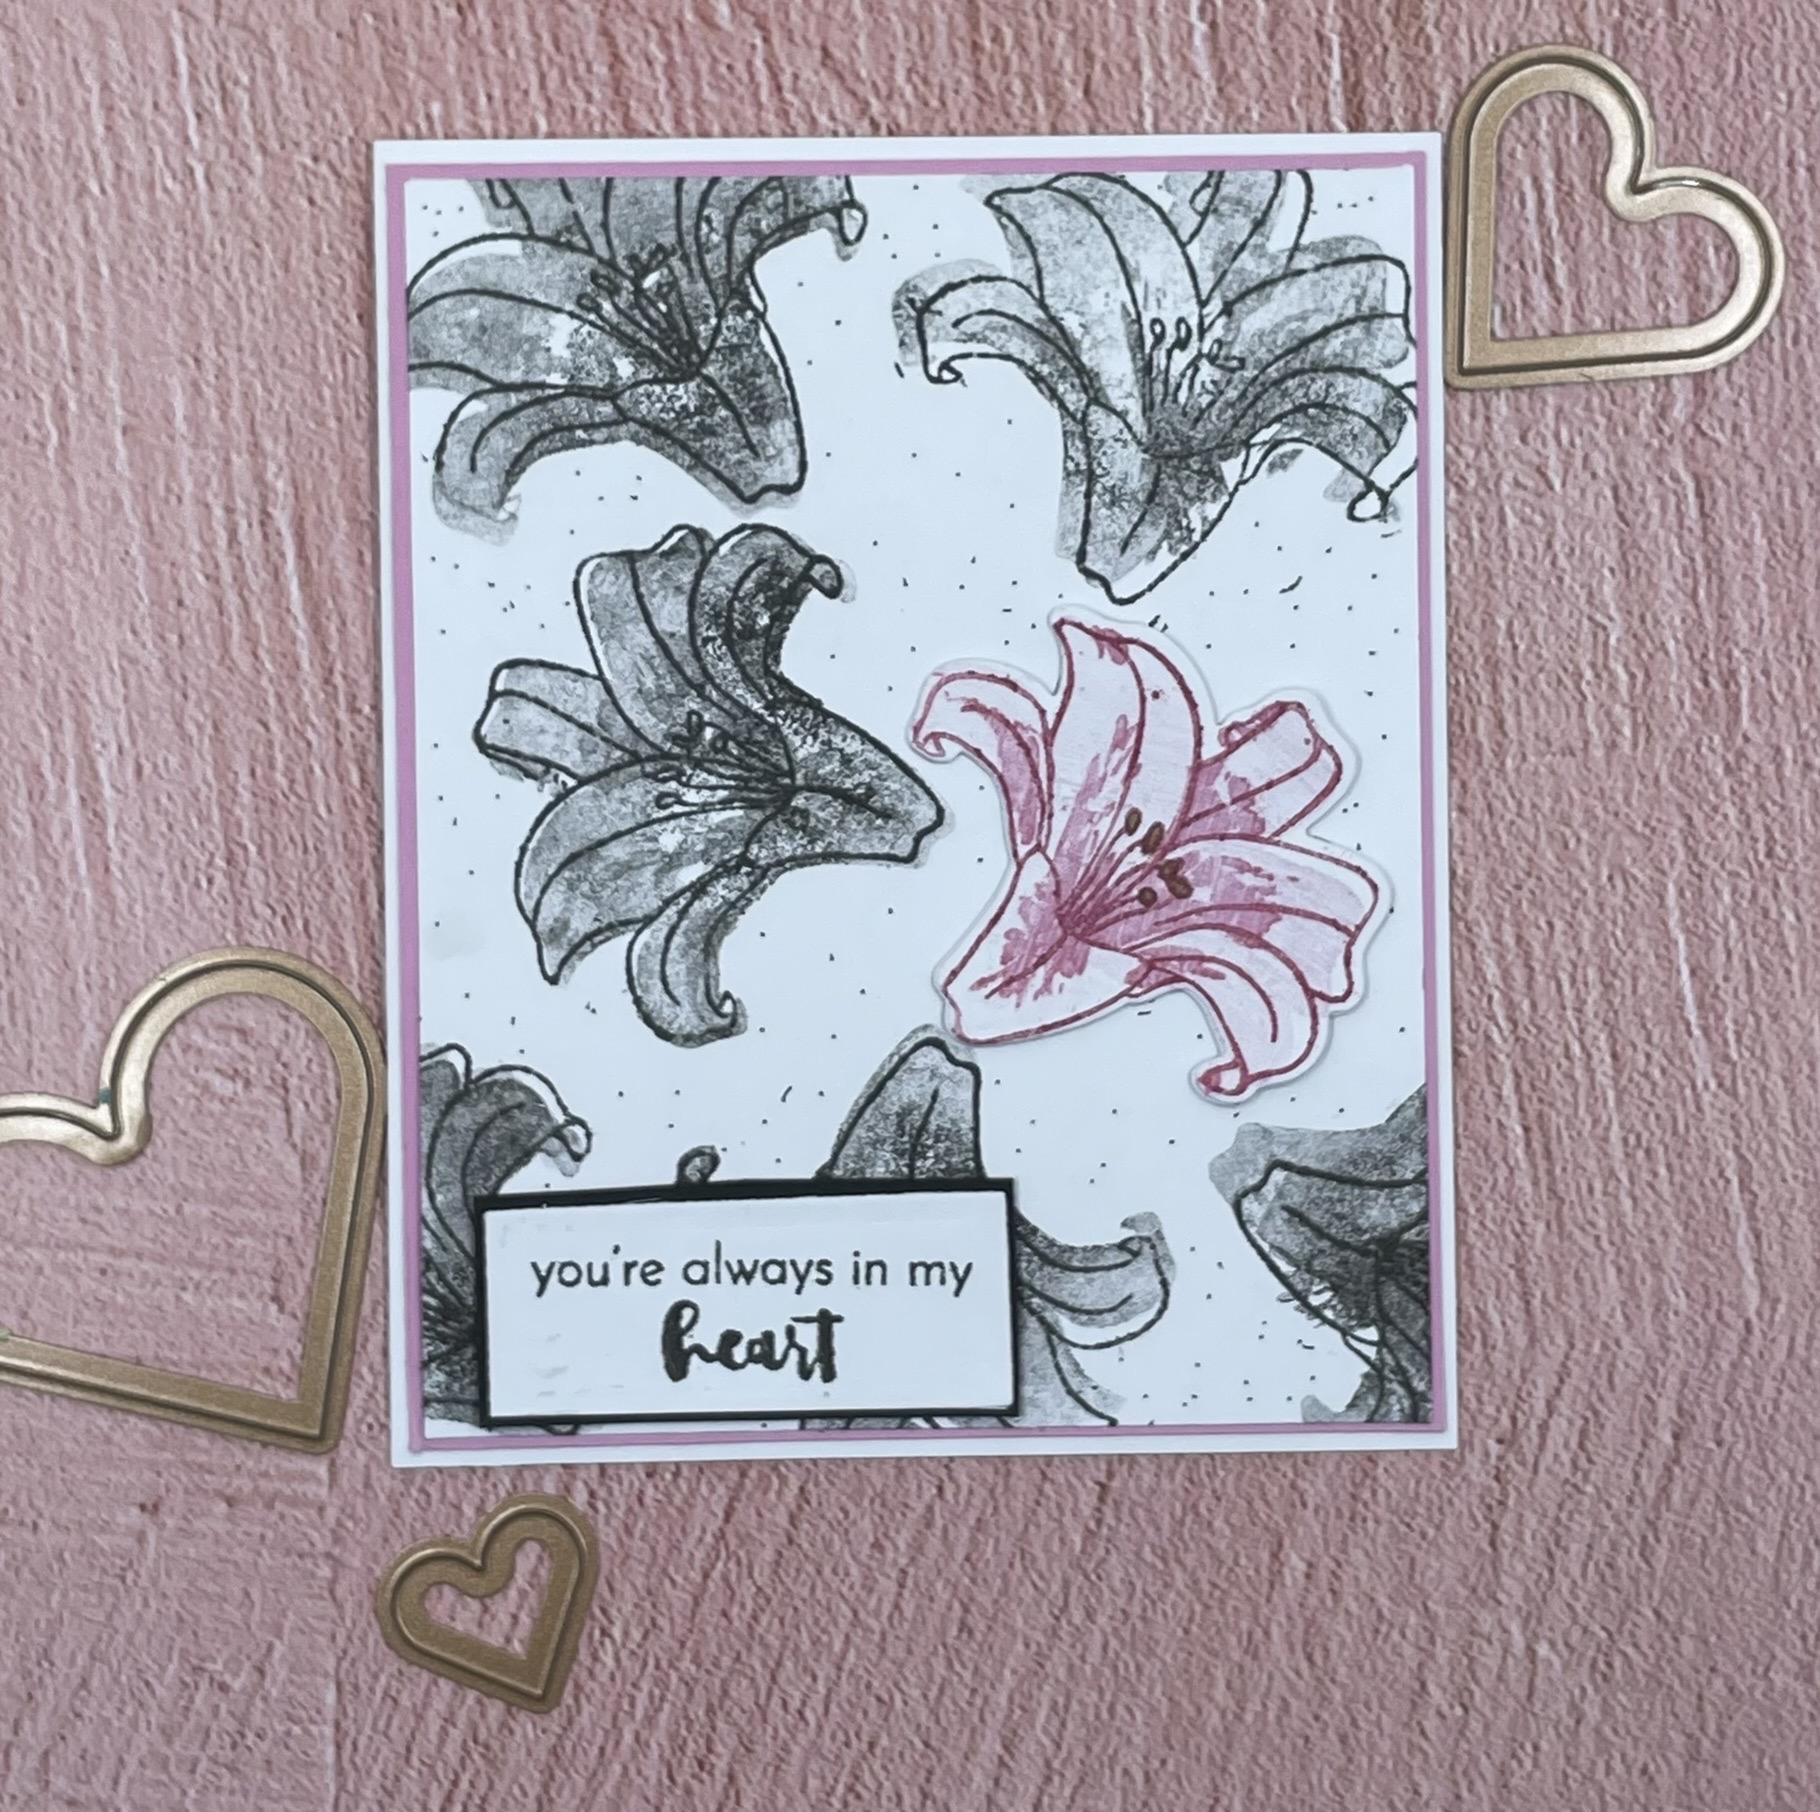
 Only once in this course have I had the stamp being used in the tutorial but have been able to create a card that I believed met the criteria of the lesson. This last lesson, however, my creative juices were not flowing and I really liked the stamps being used in the tutorial. So some time needed to pass for me to order the stamps and have them delivered. I must say though the delivery was very quick and I had my order in a few days. Less than a week. YEAH ALTENEW !!!

So, it turned out I did not order the same branch and flower set used in the tutorial but I was able to accomplish the desired look with the " Under The Cherry Blossom Tree" set. I did order the "Painted Butterflies" stamp used in the lesson and love it as much as I had expected.

I spent a couple of days learning the stamps and then set to work yesterday to make the required card.


I can't wait to post this to the Altenew Class Photo Album and get my final assignment for All About Layering Part 1

Saturday, October 23, 2021

Altenew All About Layering Lesson 9

 I was grateful to realize I had purchased an Altenew watercolor stamp set when I was recently attending a craft show. There were several examples in the package showing ways to use the stamps and I was easily able to transpose one of the designs to a slimline card.

I struggled to get a good stamp image as this is a smooth flat stamp. I kept getting blotchy or missing spots. Luckily I thought to google the problem and found a solution on a youtube by Jennifer McGuire titled "How to get a clear stamped image". The answer was to stamp it first with a clear sticky ink such as Versa Mark and stamp it off. As you can see that solved the problem.


The stamp set used is A STUDY IN WATERCOLOR and the inks are the greens from the mini cube GREEN FIELDS collection

Thursday, October 21, 2021

ALTENEW ALL ABOUT LAYERING1, LESSON 8

I was so excited to see the contents of lesson 8 because it used the same set I used on lesson 7. I watched the video and gained even more insight on correct layering of those stamps. I am so pleased with my results and only changed the design slightly from the class version.


 I'm very pleased with the card but not so pleased with my photo arrangement. Trying to be too artsy! In real life the fake candles were flickering. Need to find some better props. 

Monday, October 18, 2021

Altenew All About Layering Lesson 7

 Each time I complete a lesson I think the card I just made is my favorite. And this one from Lesson 7 is no different. I used the Altenew  Vinage Roses stamp and die set, which is the first Altenew set I bought after seeing it used by one of my card class students. Watching the class tutorial was so helpful in placing the stamps correctly and getting a great result.


The coloring of this picture is not accurate as the card layer is white, not blue. I was just so excited to post it that I couldn't wait to take a truer version, but will post that later.

Friday, October 15, 2021

Altenew -All About Layering Lesson Six


I loved making this card. In fact I loved it so much I made it three times! Each time I found a flaw in my placement and vowed to correct that each time. When on the third try I made the same mistake in placement I decided it was just meant to be this way. Seriously though, I really did love the concept of using the same object in different colors and will definately use this technique again.


Flower and sentiment from Altenew Inky Lily

Inks used : Warm Gray collection

Red Cosmo collection


Wednesday, September 29, 2021

ALTENEW ALL ABOUT LAYERING 1 LESSON 5

  Inspiration for this card came quickly. One of my new Altenew stamp sets had just the right stamp for showcasing a single flower. The flower is from the Altenew Build A Flower: Hawaiian Coral set.


I stamped the outline layer on Xpress It smooth cardstock with VersaMark watermark ink and applied Ranger gold embossing powder.  

After this was heat set I stamped the base color using Frosty Pink from the Red Cosmos ink cubes set. 

I then used the middle shading stamp using Coral Berry, also from the Red Cosmos set.

The sentiment from the same flower set was perfect for this card and was stamped with Jet Black Crisp Dye ink.

I really love the elegance of a single element card and this one will be a go to for me.

Monday, September 27, 2021

Finally Completed Altenew Academy Lesson 4


 I was stymied for a while by Lesson four because I could not come up with a design that wasn't exactly like the prototype. 

I went to a craft show and was pleased to find that someone was selling Altenew stamps and dies. I saw a man buying what looked to be Altenew so I engaged him in conversation. He indeed had purchased some Altenew products and accompanied me to the booth selling them and suggested several stamps and dies and showed me pictures of how he had used them. His name is Kevin and, it turns out, he is taking classes from Altenew.

But anyway, with all of my new stash, I thought I would easily figure out a design for lesson four. However that was not the case.

Yesterday I started playing with one of the new sets and decided to try to use it to replicate the design from Lesson 4. Things were going well until I realized I had used colors on one of the stampings that did not match the others. 


While I was annoyed at myself for ruining my project I started playing around with the mistake flower and really liked what I came up with. I decided to utilize the mistake by remaking the card and using the mistake design as the centerpiece. I'm very pleased with the result


The stamp and Die set used for this card is Inky Lily by Altenew
The Altenew dye inks used are from the mini ink Glacier Caves set
Ranger Gold embossing powder was used to embellish the center flower